Building the Chicken Cam
Yesterday I published a Chicken Cam for Buttercup farm, basically just a webcam for the 21 chicks we got a few weeks ago.

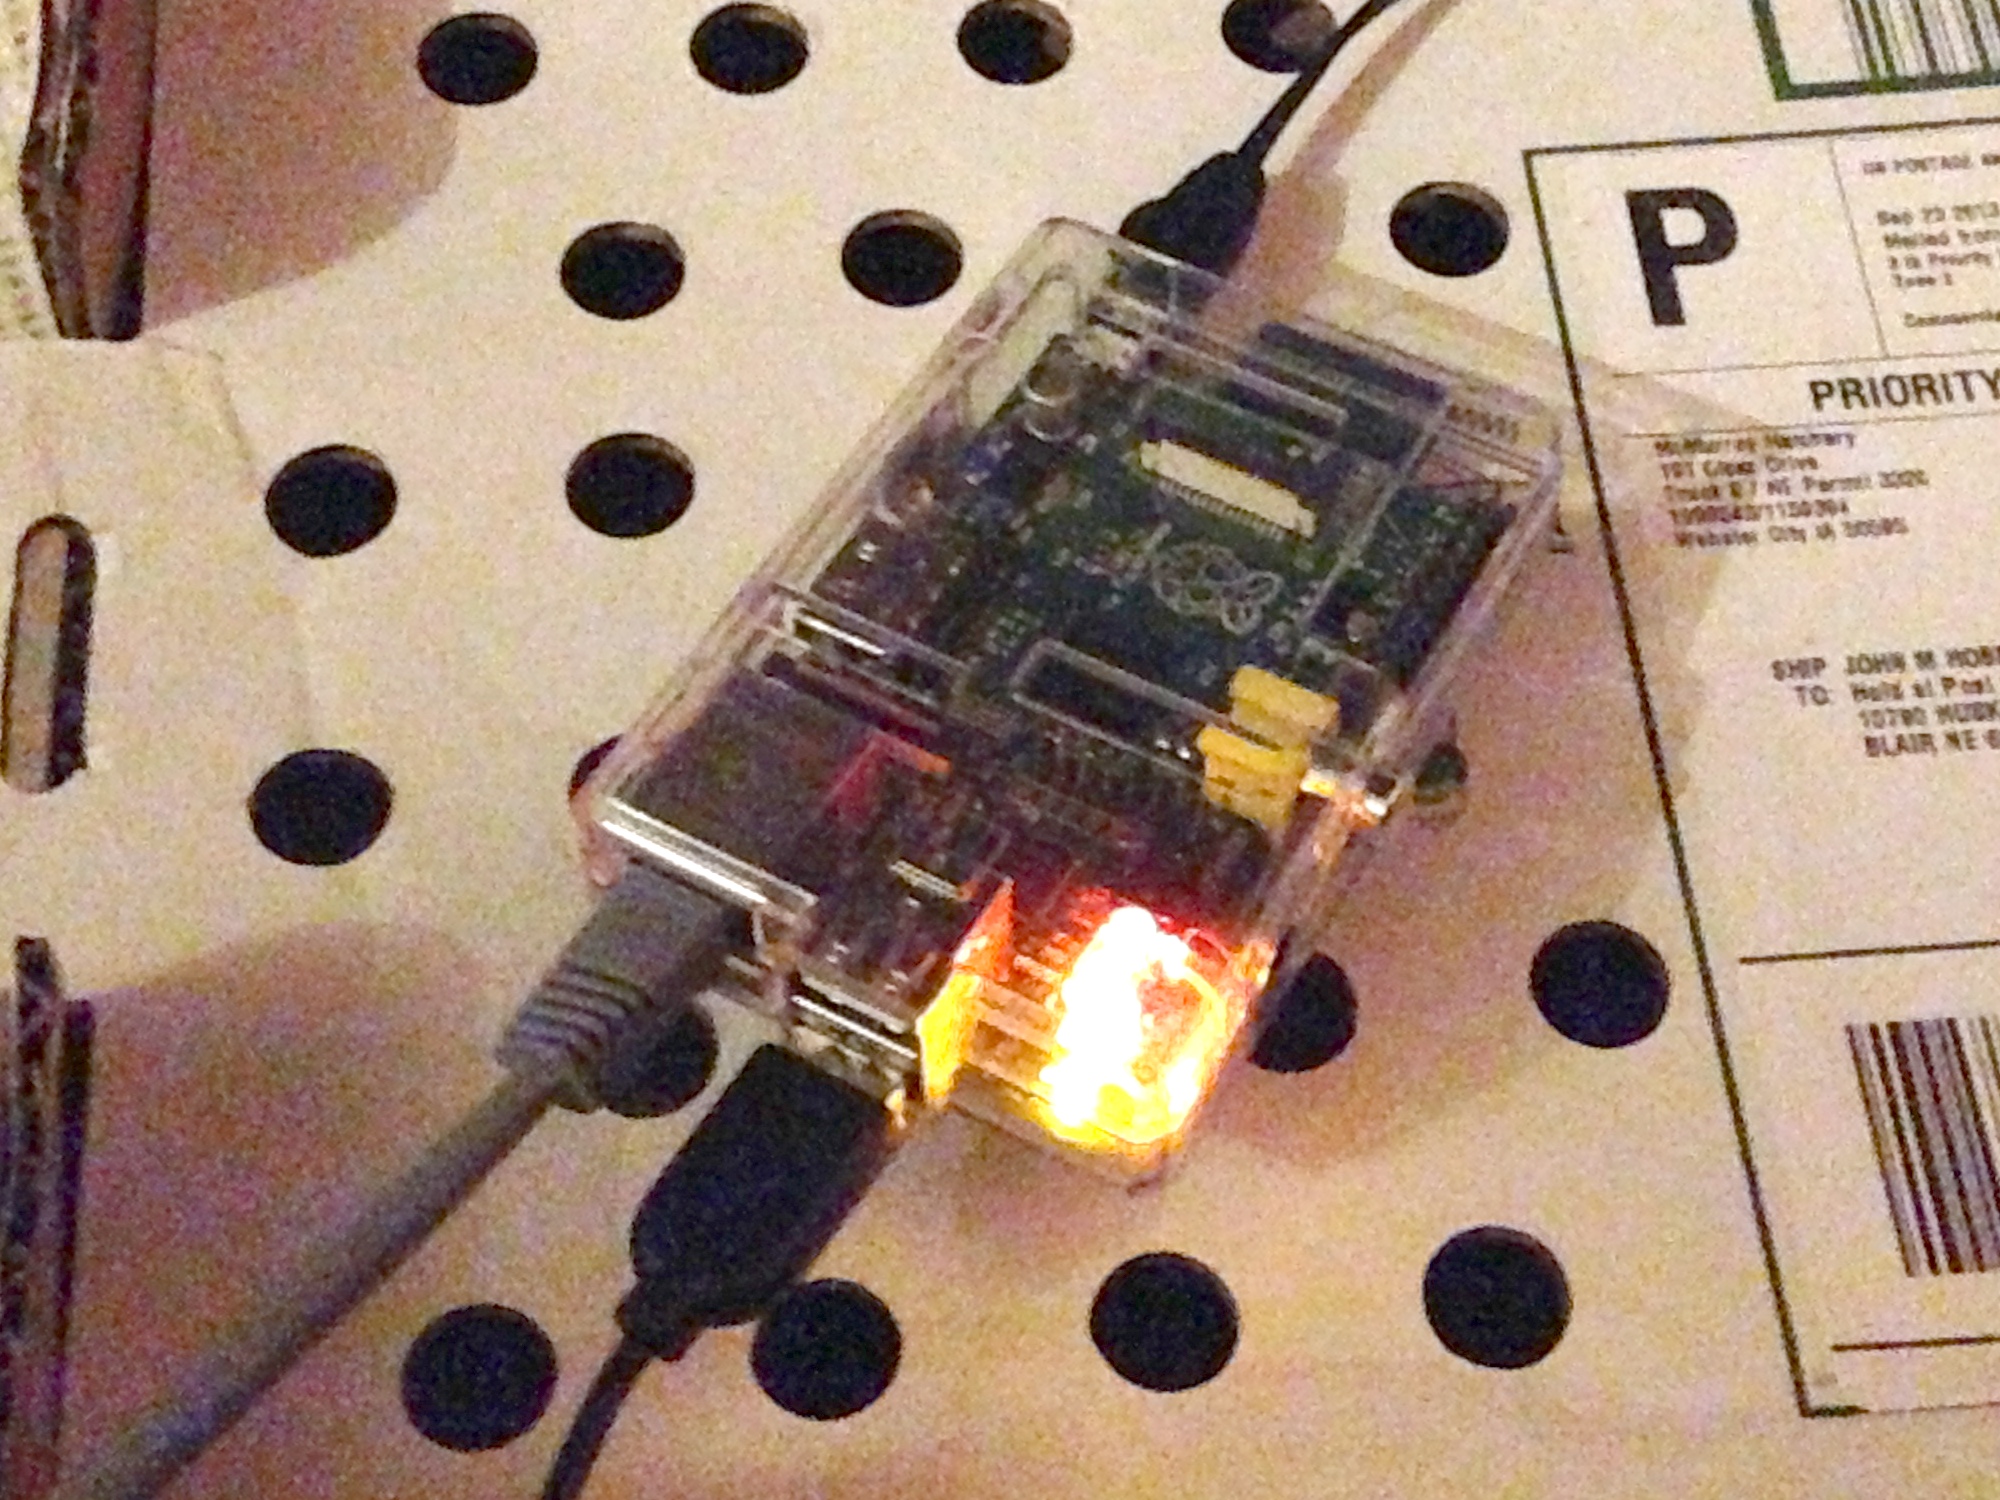
I had decided to do this project on a whim. I had a Raspberry Pi lying around unused, and I figured it would be simple to get running. It was a simple project, but I hit a few constraints which made it take longer.
Bandwidth
One of the first problems I came across was bandwidth. I live 10 minutes from Omaha, and 10 from Blair. We do not have blazing internet out here. I have ADSL which is spotty when the weather is bad. I can't afford to dedicate too much of my upstream to a chicken cam.
My first thought was to take a photo at an interval, and push it out to S3. That would save bytes since it would push the cost of serving more than one user outside of my link. The problem with that, is I didn't have a simple mechanism to tell my camera to start and stop sending images. It was always on, and always consuming bandwidth.
My second thought was a proxy type system, and that's what I ended up using. I wrote a quick node app with a background function on an interval which requests a new image from the camera. It stores this JPEG into a buffer and sleeps. When it wakes up, it checks a timestamp to see if someone has recently requested a new frame. If they have, we loop again, otherwise we wait a while and check again.
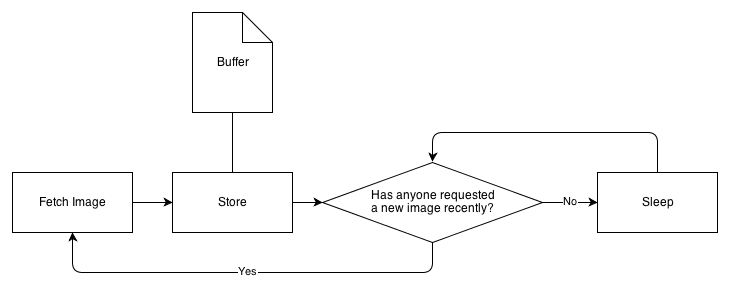
This way we serve images at a decent rate, and don't use bandwidth when no one is watching.
var http_callback = function(response) {
  var img = '';

  response.setEncoding('binary');

  response.on('data', function (chunk) { img += chunk; });

  response.on('end', function () {
    latest_image = img;
    latest_image_timestamp = +(new Date());
    setTimeout(updateImage, REFRESH_INTERVAL);
  });
};

function updateImage () {
  if(( +(new Date()) - last_request ) > PAUSE_TIMEOUT) {
    setTimeout(updateImage, PAUSE_INTERVAL);
  }
  else {
    http.request(http_options, http_callback).on('error', function (e) { setTimeout(updateImage, BACKOFF_INTERVAL); }).end();
  }
}
I put this proxy up on Heroku and it's been humming along just fine.
tinycamd
The RPi has decent specs, it's not a really wimpy machine in an embedded context, but I figured, why push it? I wanted to find a really lightweight way to serve up the images.
I initially looked at motion, but it was way too feature rich and heavy. Likewise I ruled out ffmpeg because I wanted stills on demand, not an MJPEG stream.
Luckily, I eventually found tinycamd, a little c program which worked well after a few tweaks.
I had to compile this myself on the RPi since it's not in the Debian repos. Easy enough. I started with the CNXSoft minimal image and installed build-essential and libjpeg-dev.
root@raspberry-pi:~/# apt-get install build-essential libjpeg-dev
Let that run for a bit and then you can build the program. It's a very simple program, with a very simple build process. No autotools, just type "make".
One change I had to make to get it to compile was turn off -werror for the compiler, it was dying on a "variable set but not used" warning, which isn't really a big deal to ignore.
root@raspberry-pi:~/tinycamd# make
cc -Wall -Werror -O2 -MMD     -c -o tinycamd.o tinycamd.c
tinycamd.c: In function 'main':
tinycamd.c:280:15: error: variable 'httpdThread' set but not used [-Werror=unused-but-set-variable]
cc1: all warnings being treated as errors
make: *** [tinycamd.o] Error 1
root@raspberry-pi:~/tinycamd#
Removing -werror from the CFLAGS lets it build, which it does pretty quick.
Index: Makefile
===================================================================
--- Makefile	(revision 46)
+++ Makefile	(working copy)
@@ -1,5 +1,6 @@

-CFLAGS := -Wall -Werror -O2 -MMD $(CFLAGS) $(COPTS)
+CFLAGS := -Wall -O2 -MMD $(CFLAGS) $(COPTS)
+#CFLAGS := -Wall -Werror -O2 -MMD $(CFLAGS) $(COPTS)
 LDLIBS += -ljpeg -lpthread -lrt
 HOSTCC ?= cc
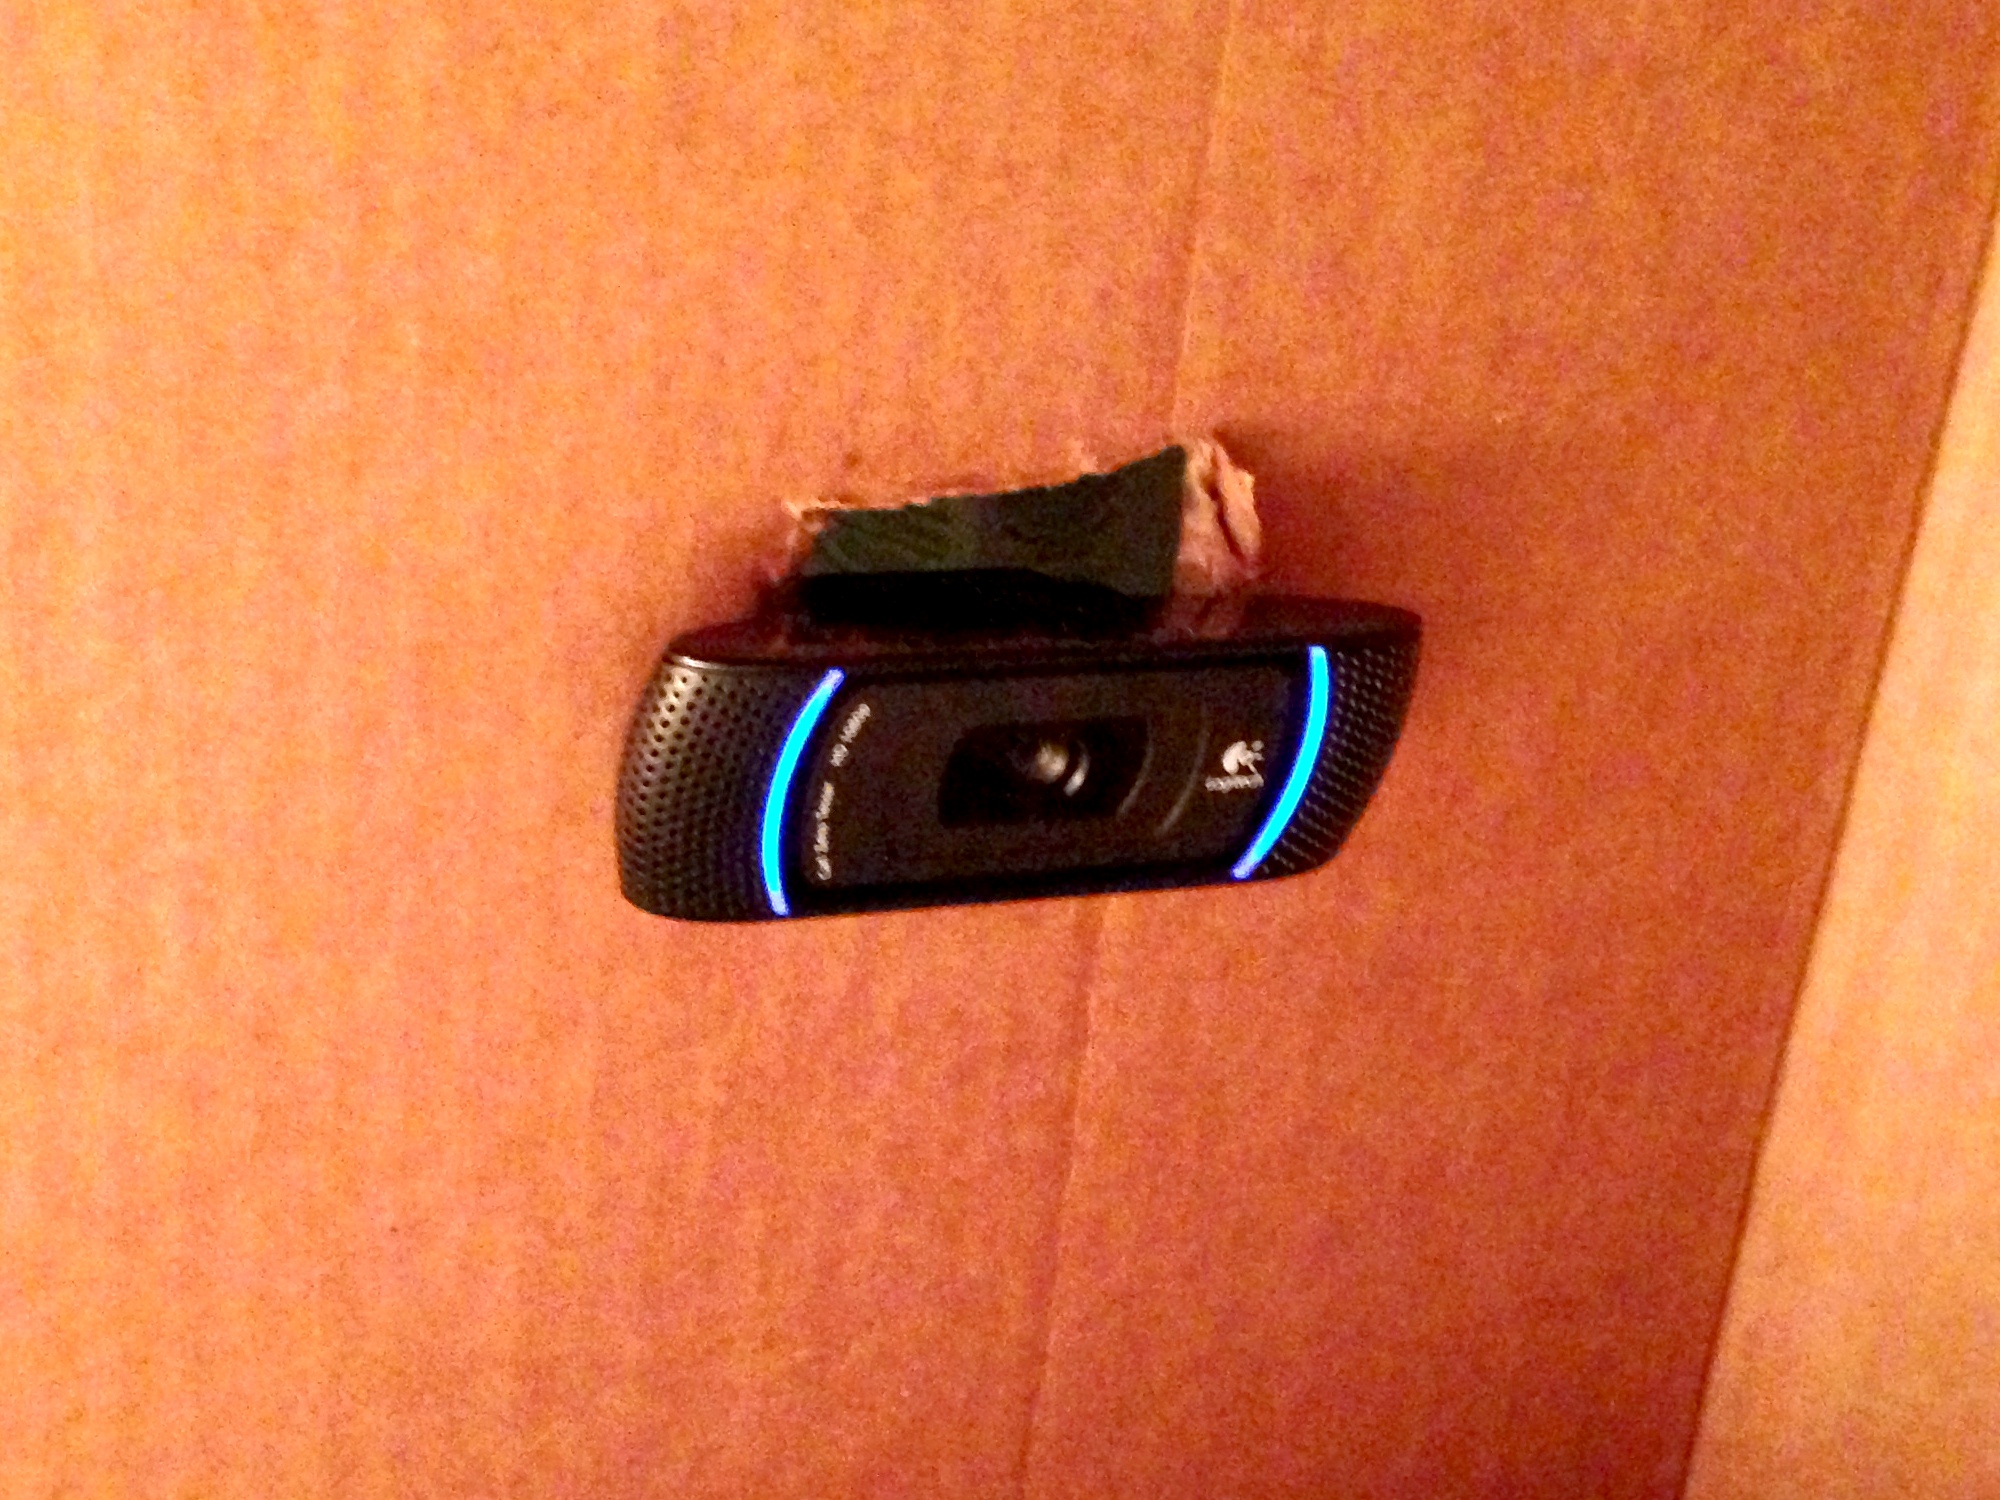
The next hurdle I encountered might be specific to my hardware. I'm running a Logitech UVC webcam I had laying around. It claims it can stream JPEG's straight from the hardware, and it claims you can set the JPEG compression rate, but it was dying during the ioctl for setting that compression level, VIDIOC_G_JPEGCOMP error 25, Inappropriate ioctl for device.
Rather than fighting it further, I commented out that chunk of tinycamd and ran it with the YUYV format and pushed JPEG compression of the camera and into libjpeg. This makes it consume more resources, but it was the quickest workaround for me.
Index: device.c
===================================================================
--- device.c	(revision 46)
+++ device.c	(working copy)
@@ -439,6 +439,8 @@
 	  fatal_f("Unable to set requested pixelformat.\n");
 	}

+	comp.quality = quality;
+	/*
 	if (-1 == xioctl( videodev, VIDIOC_G_JPEGCOMP, &comp)) {
 	    if ( errno != EINVAL) errno_exit("VIDIOC_G_JPEGCOMP");
 	    log_f("driver does not support VIDIOC_G_JPEGCOMP\n");
@@ -449,6 +451,7 @@
 	    if (-1 == xioctl( videodev, VIDIOC_G_JPEGCOMP, &comp)) errno_exit("VIDIOC_G_JPEGCOMP");
 	    log_f("jpegcomp quality came out at %d\n", comp.quality);
 	}
+	*/

 	if (-1 == xioctl( videodev, VIDIOC_G_PARM, &strm)) errno_exit("VIDIOC_G_PARM");
 	strm.parm.capture.timeperframe.numerator = 1;
With all that done I installed it as a daemon (it ships with an init script) and I was good to go.
Running, it stays under 30% CPU and 3% of memory, and that is with YUYV conversion and 40% compression on the JPEG frames. Pretty good.
The Bunker
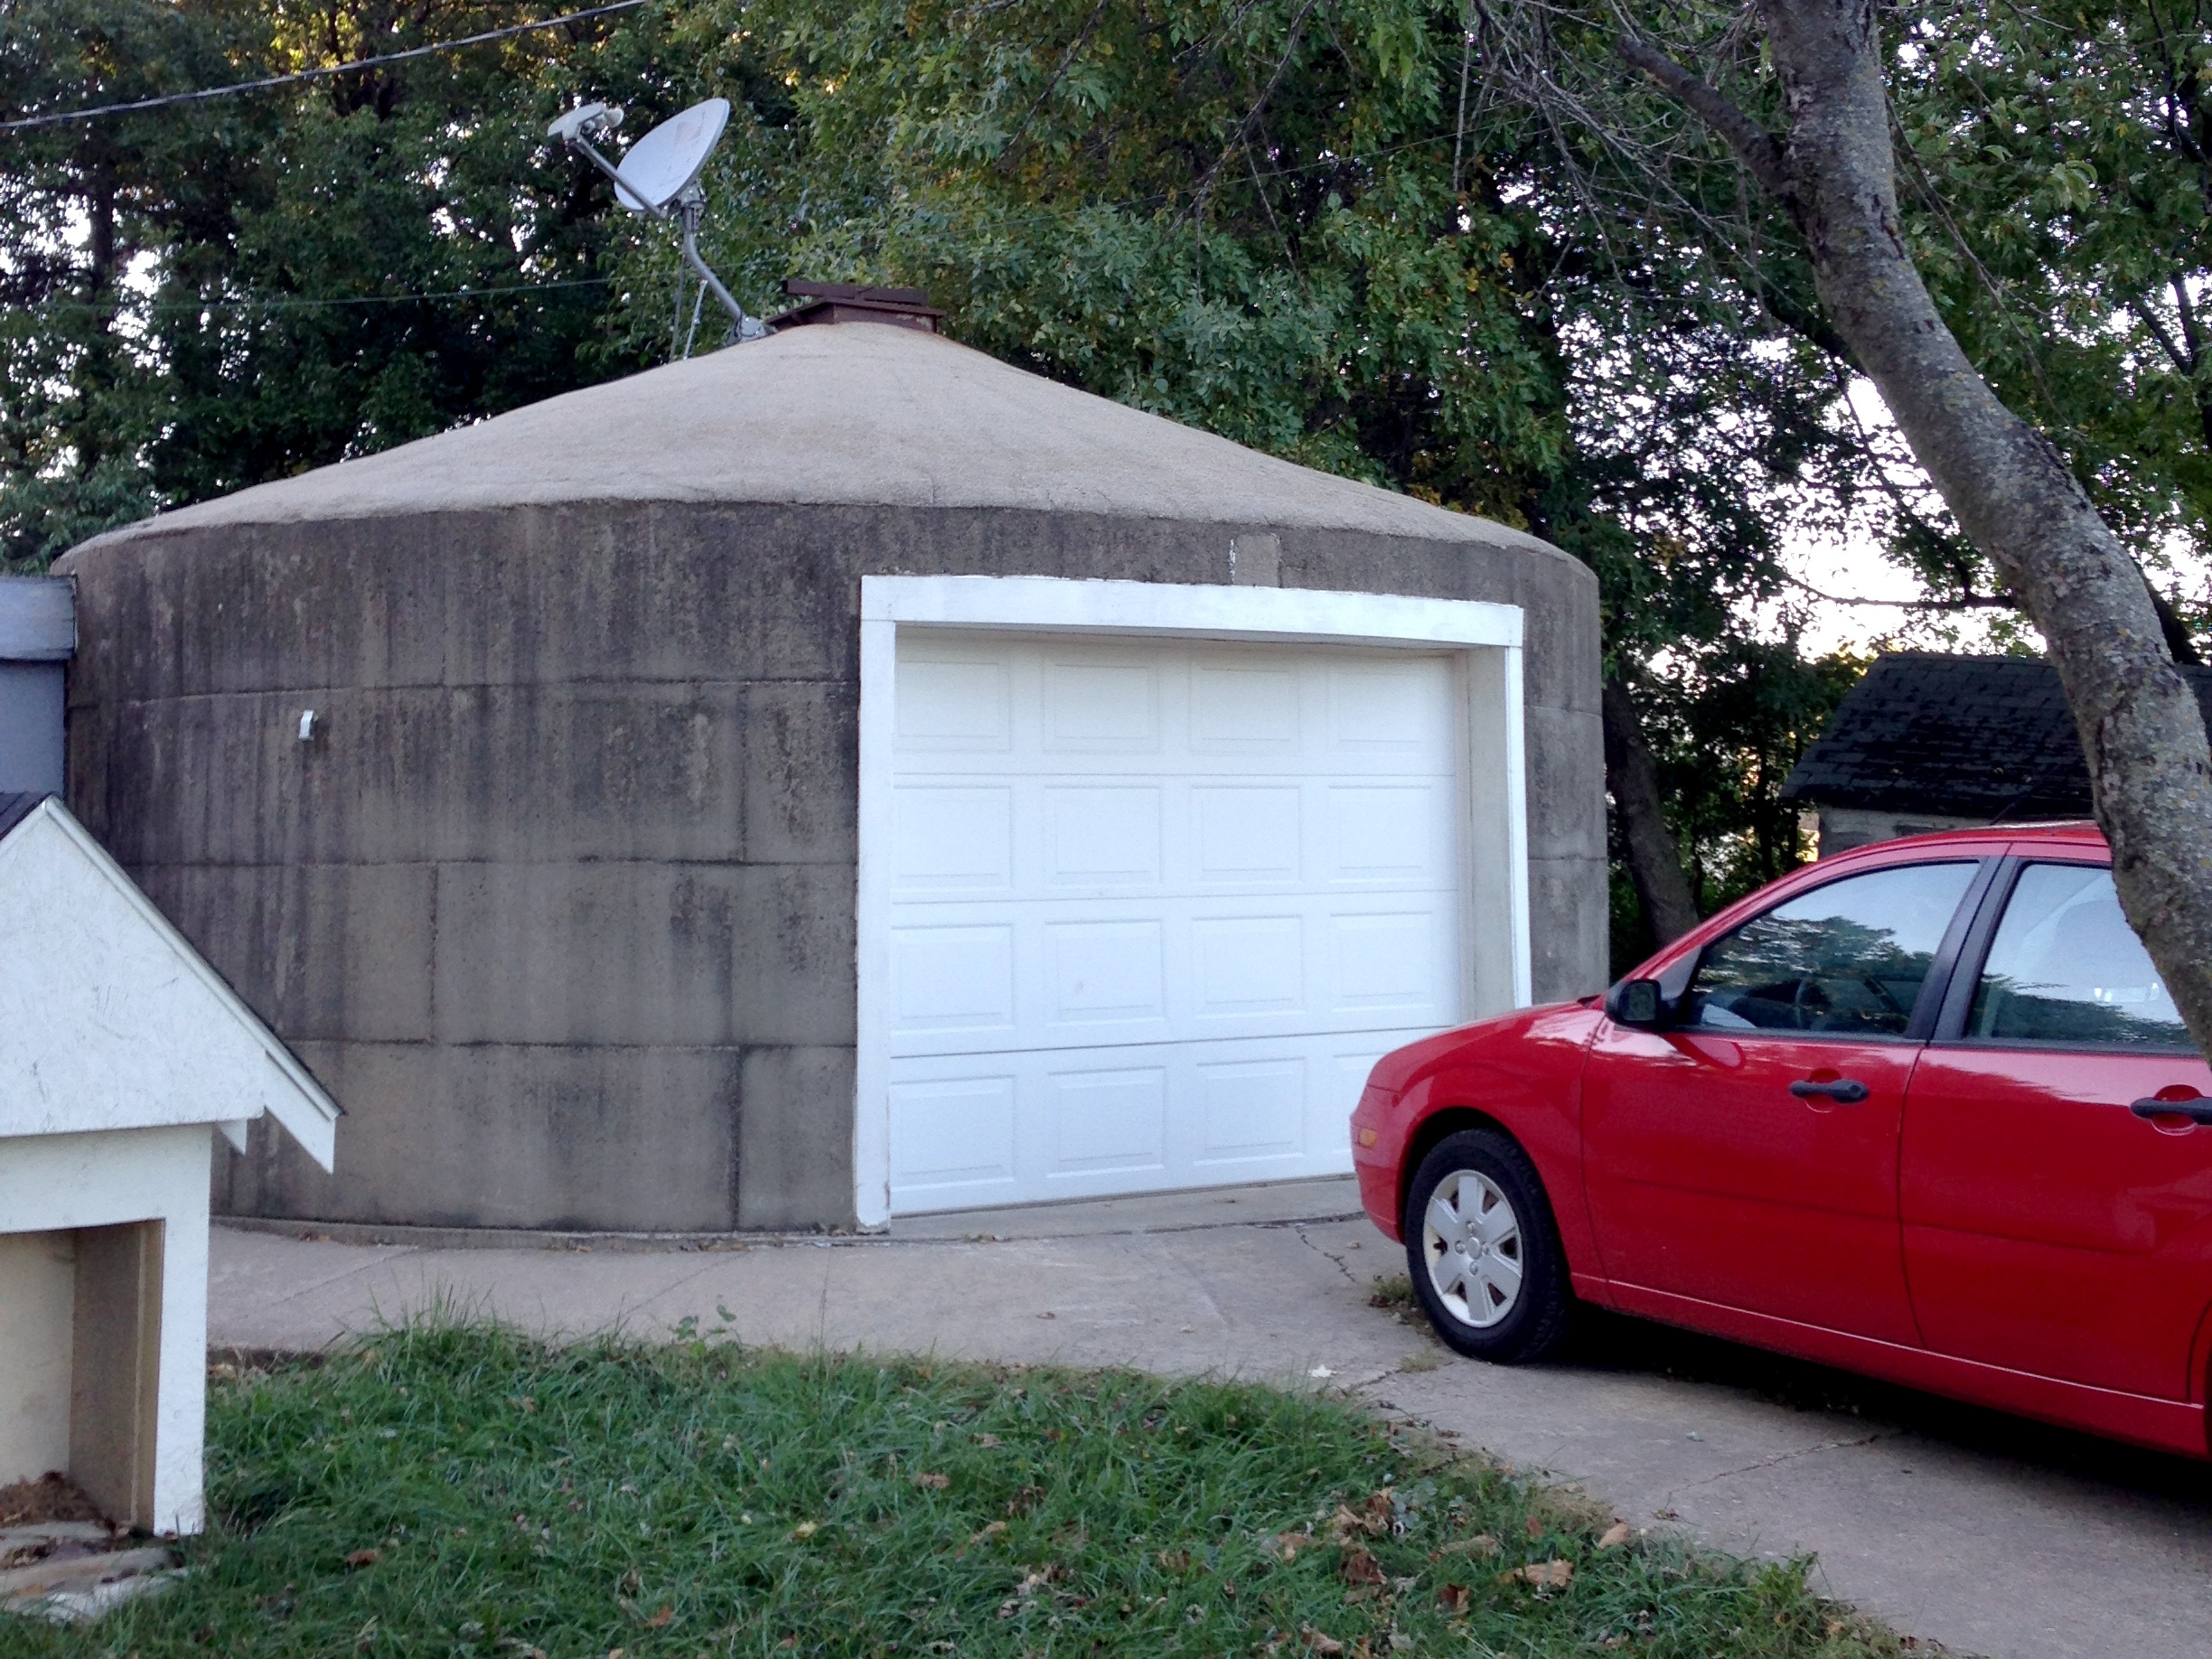
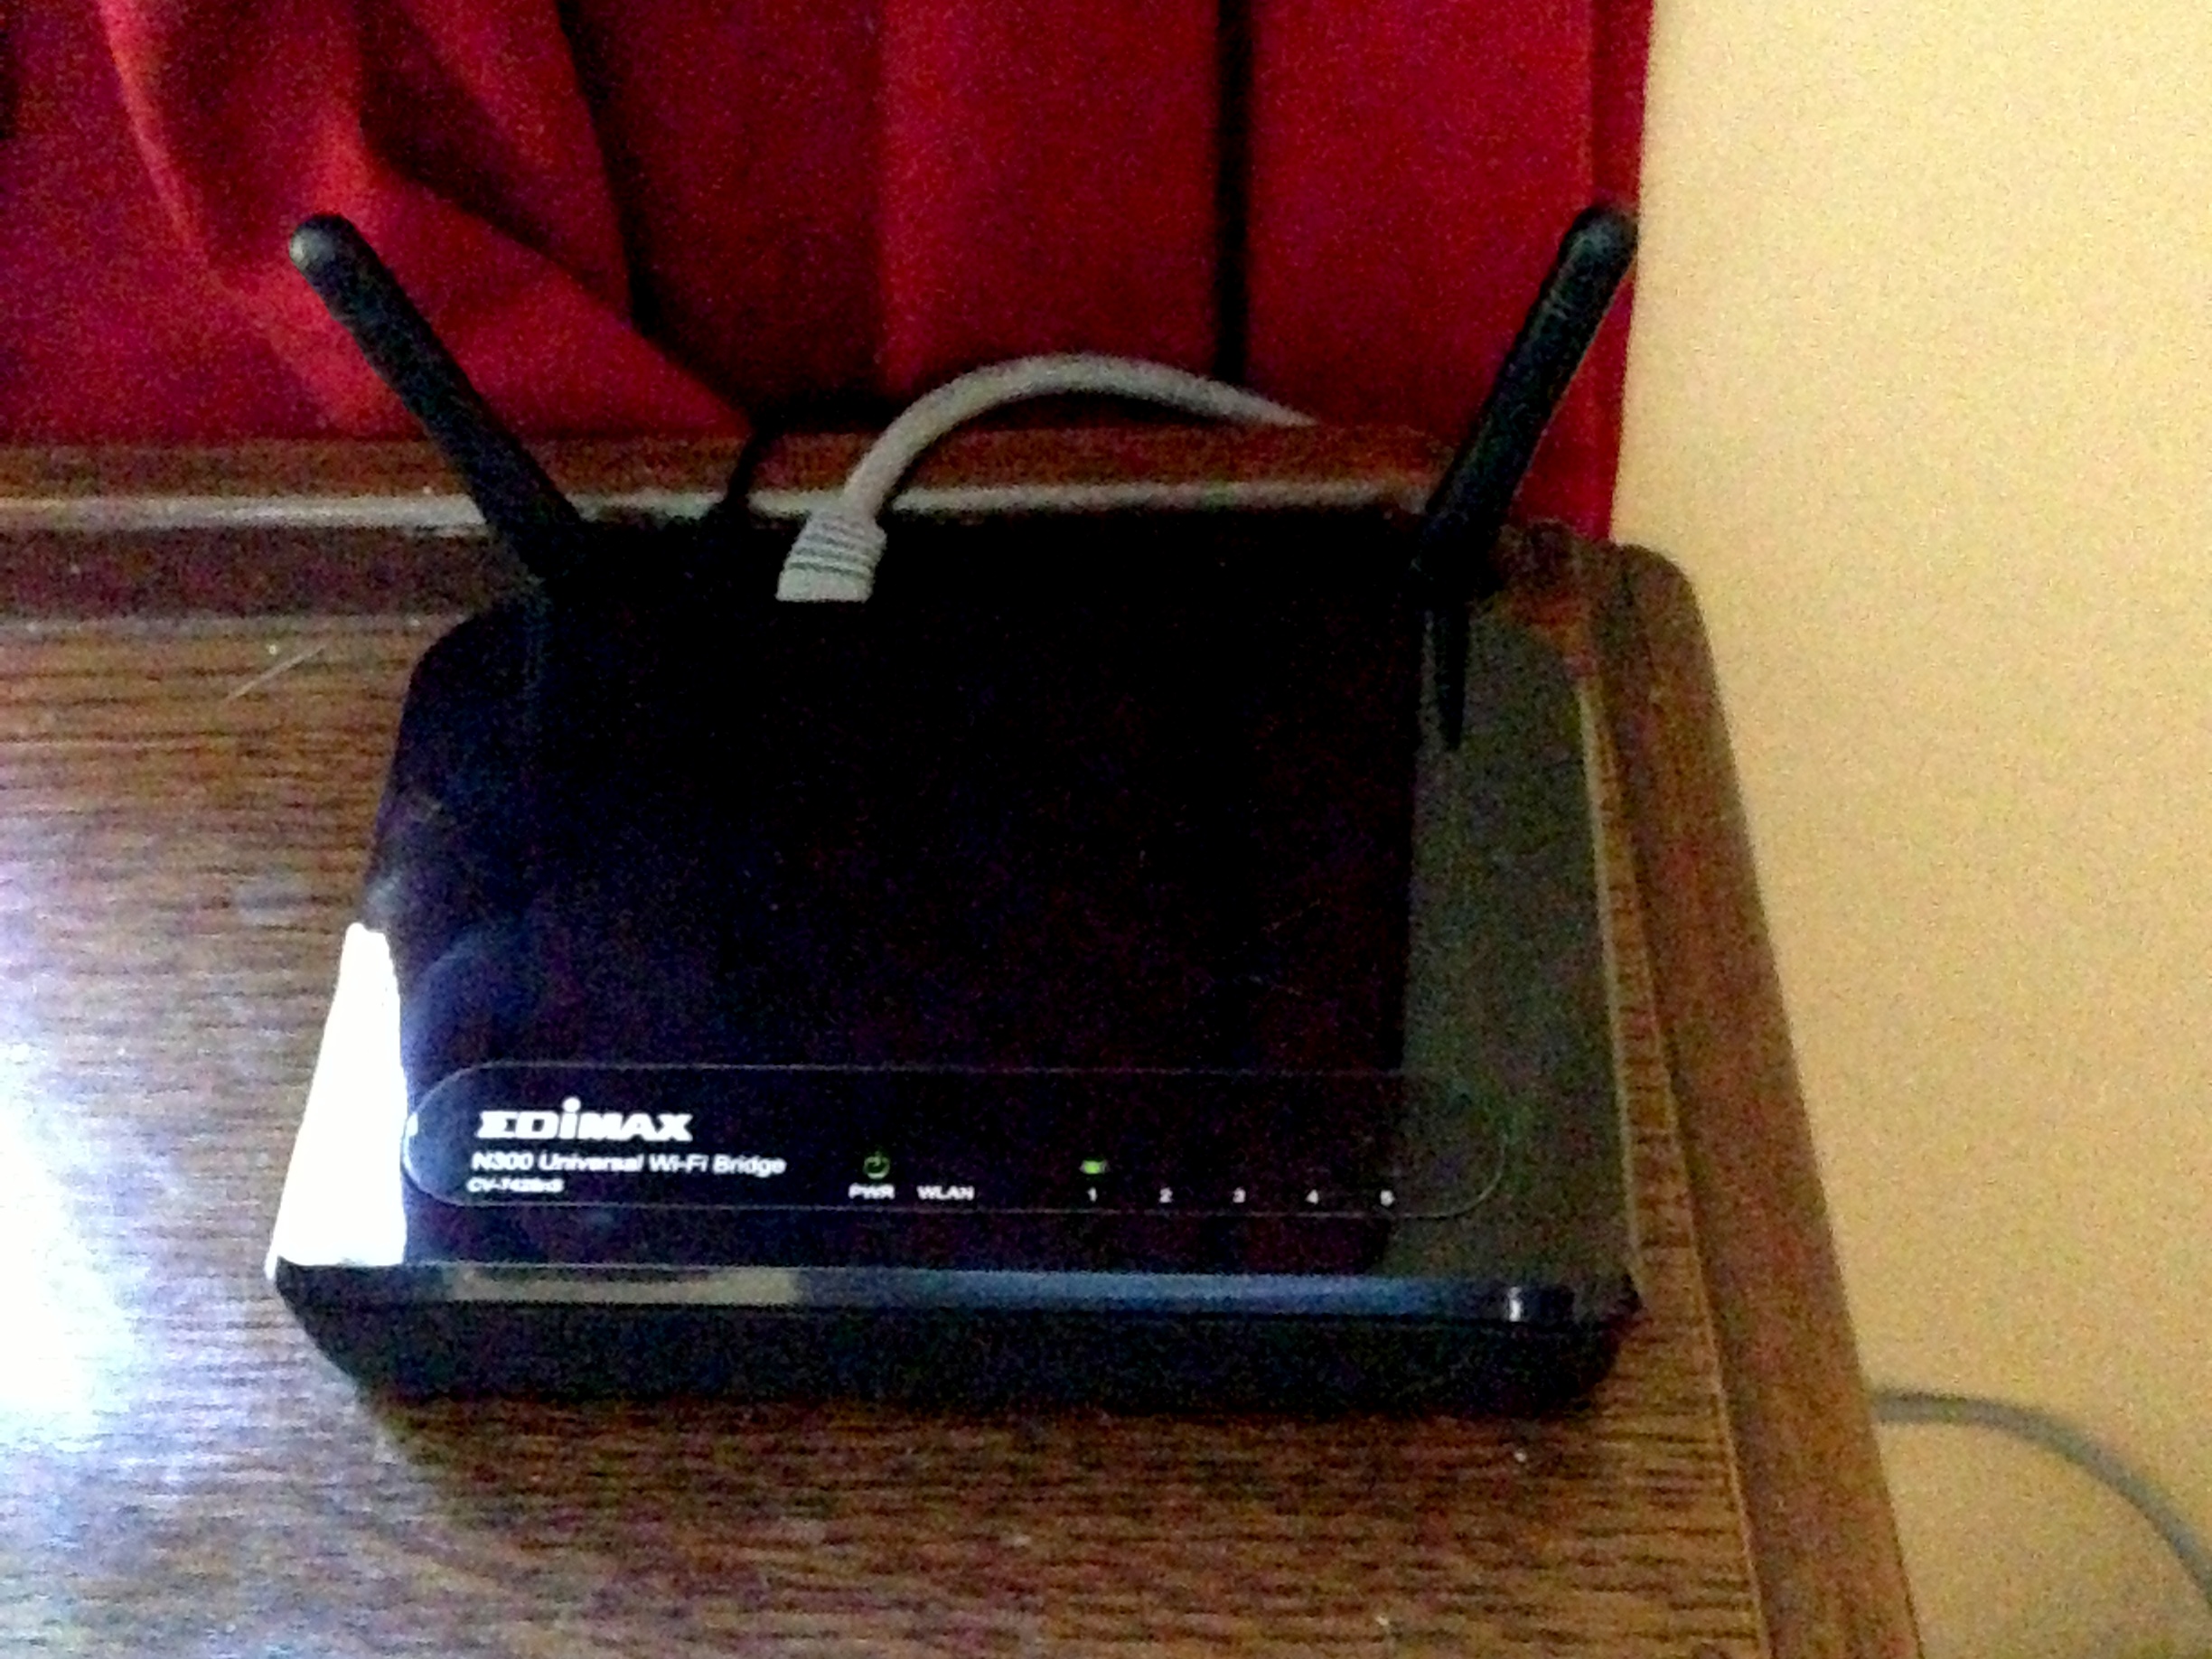
The final hurdle was our garage, where the chicks are kept. We have a very unusual garage, consisting of a concrete silo with very thick concrete walls. It's also the furthest point from the router in the house. Wifi is slow and spotty out there, so I bought a bridge and ran 50' of Ethernet cabling from the garage into the house where the bridge was set up. This decreased latency enough to make the camera viable.
The End Result
It took more effort than I thought it would, and a few days of waiting for hardware to ship, but I think it was worth it. I intend to try and keep the camera running as they grow up and move outside, which will involve running even more cabling and probably a power line. We'll see if I stick to it or not.
If you want run tinycamd on your own pi, I've included my build with an install script. This is the version with device JPEG compression disabled, so be aware of that if you decide to stream JPEG instead of YUYV. tinycamd-rpi-debian.tar.gz
You can also download my patch file if you want to build it yourself.
Update (2013-10-09): I published the proxy/cache code on github; github.com/jmhobbs/chicken-cam
Update (2013-10-09)
In the comments Matt asked for clarification on the configuration, so I thought I would put that up here.
There are two services running, tinycamd on the RPi and my node app on Heroku. Both are HTTP servers. I've port forwarded 8080 through my router to the RPi (shown as 192.168.1.117 on the diagram) which means that the tinycamd HTTP server on the RPi is available on the public internet if you know my WAN IP (direct chicken access!)
The Heroku app is configured with that WAN IP, so it knows where to make an HTTP request for a new JPEG. To simplify configuration, I actually have it pointing to a dynamic DNS host, which is kept up to date by software on my router.
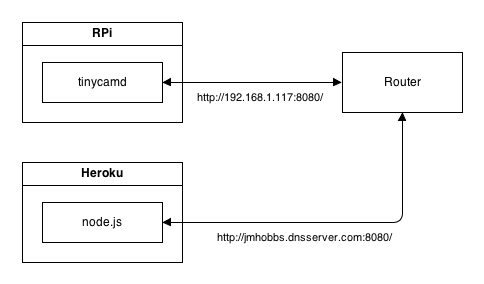
So when you make a request to Heroku for an image, Heroku doesn't forward that request to tinycamd, it just serves you whatever image is currently in memory. In this way, it's not really a proxy, that's a bad term. It's more of a self-updating cache, because it goes out and updates the frame on it's own schedule, not due to incoming requests.
Matt made a good point that web sockets would be a better control mechanism. I agree, but this system doesn't have very hard real time constraints, and I'm fine with leaking a few kb for unused frames. Polling is gross, but sometimes it's the simple option. S3 is no longer involved in serving frames, that was my first approach, which I abandoned.
Update (2013-10-10): Added a socket.io version for giggles. github.com/jmhobbs/chicken-cam/tree/feature/socket.io